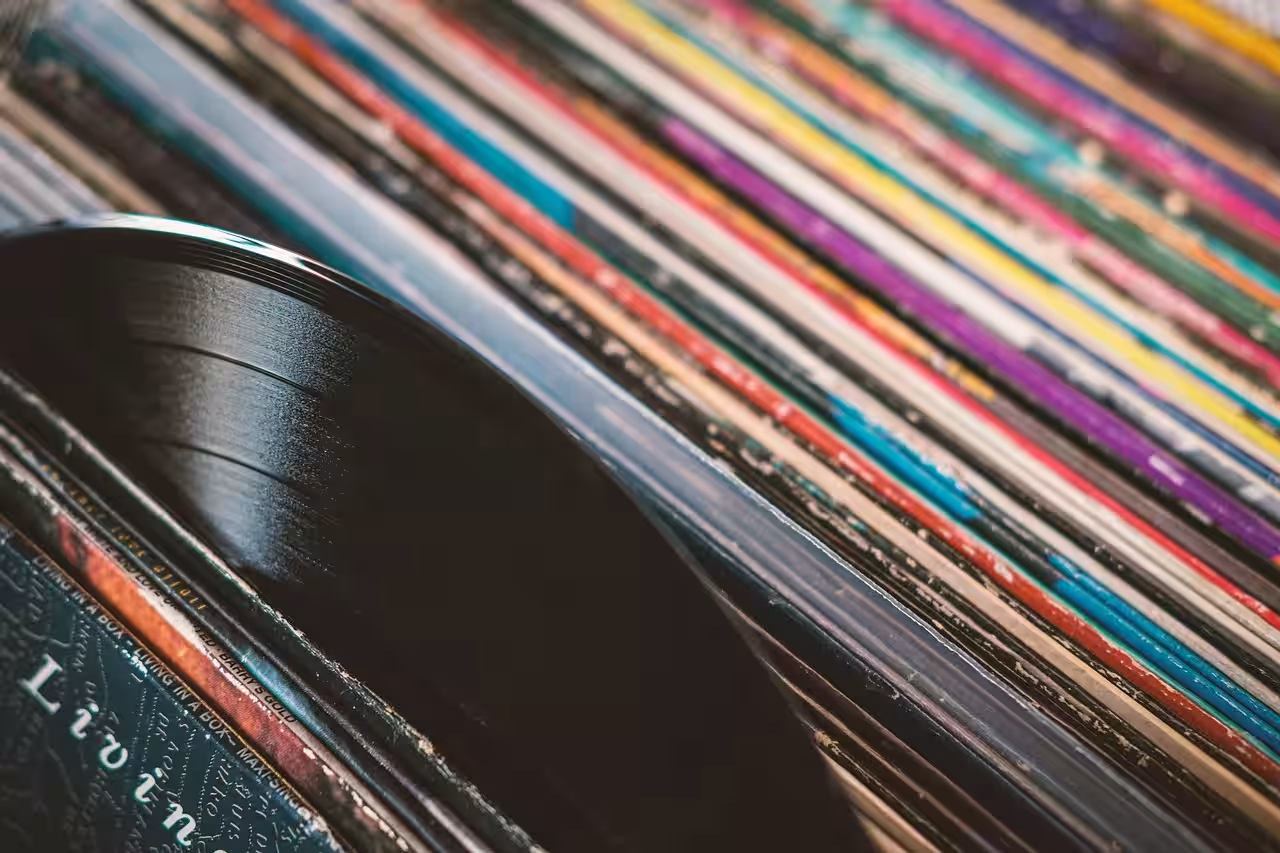
Why Cleaning Your Vintage Vinyl Matters
Cleaning your vintage vinyl records is crucial for preserving their sound quality and longevity. Neglecting this simple act allows dust, grime, and static to build up. These contaminants degrade audio fidelity. They can also permanently damage delicate record grooves. A well-maintained record sounds crisper. It plays more smoothly. It also lasts for decades.
From my years of collecting, I have seen the difference. A dirty record introduces pops, clicks, and surface noise. It wears down your stylus faster. It detracts from the listening experience. Cleaning revives dull-sounding records. It ensures you hear the music as the artist intended. It protects your valuable collection.
Essential Tools for Safe Vinyl Cleaning
Before you begin any cleaning process, gather the right tools. Using improper materials can do more harm than good. Investing in quality record care supplies is a wise decision. My own toolkit has evolved over time. I’ve found certain items indispensable for gentle, effective cleaning.
The Right Brushes
A good record brush is your first line of defense. Carbon fiber brushes are excellent. They remove surface dust and static charges. Always brush gently. Move with the grooves. Velvet brushes also work well. They lift fine particles. I recommend using one before every play. This habit prevents grime from embedding deeper.
Microfiber Magic
High-quality microfiber cloths are essential. They are lint-free and incredibly soft. Never use paper towels or old rags. These can scratch your records. They can leave fibers behind. Choose cloths specifically designed for electronics or optics. They are gentle enough for vinyl. I keep a dedicated stack just for my records.
Record Cleaning Solutions
Not all liquids are safe for vinyl. Specialized record cleaning fluids are formulated for this purpose. They lift dirt without harming the grooves. Some solutions are alcohol-free. Others contain a small amount of isopropyl alcohol. Always check the ingredients. Ensure they are safe for your records. I’ve tested many brands over the years. My preference leans towards gentle, non-residue formulas.
Drying Racks and Stands
Proper drying is often overlooked. Air drying records flat can lead to dust re-settling. A dedicated drying rack or stand is ideal. It holds records vertically. This promotes even drying. It prevents contamination. You can even use a dish drying rack in a pinch. Just make sure it’s clean and stable.
My Step-by-Step Guide to Cleaning Vintage Vinyl
Cleaning a vintage record requires patience and a gentle touch. I approach each record with care. Assess its condition first. Heavily soiled records need more attention. Always proceed slowly. This method has served my collection well for years.
The Dry Brush Method (Quick Dust Removal)
This is your everyday cleaning routine. It’s quick and effective for light dust.
- Place the record on your turntable. Do not start the platter yet.
- Hold your carbon fiber brush gently. Position it perpendicular to the grooves.
- Start the turntable spinning. Let the record complete one full rotation. The brush gathers dust.
- Slowly move the brush towards the spindle. This collects all dust into a single line.
- Lift the brush straight off. Never drag it across the record surface.
- Clean the brush. Use a dedicated stylus brush or compressed air.
I perform this routine before every listen. It keeps surface noise to a minimum. It extends the life of my records.
The Gentle Wet Clean (Surface Grime)
This method tackles more stubborn surface grime. It’s safe for most records.
- Gather your supplies. You’ll need record cleaning solution, a soft microfiber cloth, and a drying rack.
- Place the record on a clean, flat, lint-free surface. A clean towel works well.
- Apply a small amount of cleaning solution. Spray directly onto the record surface. Avoid the label.
- Spread the solution gently. Use a clean microfiber cloth. Move in a circular motion. Follow the grooves.
- Work from the center outwards. Apply minimal pressure. Let the solution do the work.
- Flip the record. Repeat the process on the other side.
- Rinse if necessary. Some solutions require a distilled water rinse. Check your product instructions. Use a separate, clean microfiber cloth for rinsing.
- Dry thoroughly. Place the record on your drying rack. Allow it to air dry completely. Or gently blot dry with a fresh, dry microfiber cloth.
I find this method perfect for records that look dull. It brings back their luster. It noticeably improves sound.
The Deep Clean Approach (Stubborn Dirt)
For records with embedded dirt, a more intensive approach is needed. This is where a vacuum-based cleaner or a more robust manual cleaning comes in. I often use a vacuum system for these. If you don’t have one, this manual deep clean is a good alternative.
- Prepare your workspace. Lay down multiple clean microfiber cloths or a large, soft towel.
- Apply a generous amount of specialized cleaning fluid. Ensure it covers the grooved area. Again, protect the label.
- Let the solution sit. Allow it to penetrate the grime. Give it 30-60 seconds. Do not let it dry.
- Gently scrub with a velvet brush or a dedicated record cleaning brush. Apply very light pressure. Move in a circular motion, following the grooves. Work your way around the entire record.
- Rinse thoroughly. Use a separate bottle with distilled water. Gently spray and wipe with a fresh microfiber cloth. This removes all residue. Residue can cause noise.
- Repeat the rinse. I often do a second distilled water rinse for heavily soiled records. This ensures no cleaning solution remains.
- Dry completely. Use a new, dry microfiber cloth to gently blot and wipe. Then place on a drying rack.
This deep cleaning process can dramatically improve playback. I’ve revived many “unplayable” records using this method. Patience is key.
Advanced Cleaning Techniques (When Simple Isn’t Enough)
Sometimes, manual cleaning isn’t enough. Or you have a large collection. This is when I consider more advanced tools. These can offer superior cleaning power. They save significant time. However, they are an investment.
Vacuum-Based Record Cleaners
These machines are a game-changer. They apply cleaning fluid. Then they use a powerful vacuum to suck up the liquid. This removes dirt and grime effectively. It leaves the record completely dry. My own vacuum cleaner has been invaluable. It cleans deep into the grooves. It removes unseen contaminants. Results are consistently excellent. The sound improvement is often dramatic. It’s a worthwhile investment for serious collectors.
Ultrasonic Cleaners (A Word of Caution)
Ultrasonic cleaners use high-frequency sound waves. These create microscopic bubbles. The bubbles dislodge dirt from the grooves. This method is highly effective. However, some debate its long-term effects on vinyl. I’ve used them sparingly myself. Always use a dedicated vinyl ultrasonic cleaner. Avoid cheap, generic jewelry cleaners. They can damage records. Use only distilled water. Add a tiny amount of surfactant if recommended by the manufacturer. Be cautious and research thoroughly before committing to this method.
DIY Solutions vs. Commercial Products: What I’ve Learned
The internet is full of DIY cleaning recipes. Some work. Others can be detrimental. My experience has taught me to be selective. Commercial products are often safer. They are formulated by experts. But some DIY options have their place.
Is Distilled Water Enough?
For light dust and rinsing, distilled water is excellent. It contains no minerals. Tap water leaves deposits. These deposits cause surface noise. I always use distilled water for rinsing. It’s a cheap and effective cleaner for very lightly soiled records. But it won’t remove deep-seated grime or oils.
Alcohol-Based Solutions: Handle with Care
Some DIY solutions recommend isopropyl alcohol. Alcohol can be effective at dissolving grime. However, it can also dry out vinyl. It may remove plasticizers. This can lead to brittle records over time. If you use alcohol, use a very dilute solution. No more than 10-20% isopropyl alcohol. Mix it with distilled water. Always test on a less valuable record first. I rarely use alcohol. I prefer alcohol-free commercial solutions. My collection is too precious to risk.
My Preferred Commercial Cleaners
I have a few go-to brands. Mobile Fidelity Sound Lab (MoFi) fluids are excellent. They are effective and safe. GrooveWasher is another solid choice. Their G2 fluid works wonders. Spin-Clean systems are great for manual cleaning batches of records. They are very affordable. These products are designed for vinyl. They offer peace of mind. They deliver consistent, reliable results.
Common Mistakes to Avoid (Preserving Your Collection)
Even with the best intentions, mistakes happen. Avoiding these common pitfalls is vital. It prevents irreversible damage to your cherished vintage records. I’ve learned these lessons through trial and error. You don’t have to.
Using Harsh Chemicals
Never use household cleaners. Windex, dish soap, or all-purpose sprays are a definite no-go. They contain strong chemicals. These chemicals leave residues. They can permanently damage vinyl. They might even etch the surface. Stick to products specifically designed for records.
Scrubbing Too Hard
Vinyl grooves are delicate. Excessive pressure can scratch them. It can even warp the record. Always use a light touch. Let the cleaning solution do the work. Gentle, consistent movements are best. Imagine you are cleaning a fragile antique.
Wiping in the Wrong Direction
Always wipe with the grooves. This means in a circular motion. Wiping across the grooves can embed dirt. It can also create microscopic scratches. These scratches will cause audible pops and clicks. It’s a simple rule but incredibly important.
Skipping the Drying Step
Leaving records wet is a recipe for disaster. Moisture attracts dust. It can also lead to mold growth. Always ensure records are completely dry before playing or storing. Use a clean, dry microfiber cloth. Air dry on a rack. Patience here saves future headaches.
Beyond Cleaning: Prevention and Storage
The best cleaning is prevention. Proper storage minimizes dust and grime accumulation. It extends the life of your records. I consider it an integral part of record care. It’s less about cleaning and more about long-term preservation.
Proper Sleeves
Original paper sleeves offer little protection. They can even scratch records. Always replace them with anti-static inner sleeves. Poly-lined paper sleeves or entirely polyethylene sleeves are ideal. These prevent static buildup. They keep dust away. They protect the record surface. Outer sleeves are also important. They protect the album artwork. They shield the inner sleeve from dust and shelf wear.
Environmental Factors
Store your records vertically. Stacking them can cause warping. Keep them in a cool, dry place. Avoid direct sunlight. Extreme temperatures are harmful. Humidity can lead to mold growth. A consistent environment is key. My listening room maintains a steady temperature and humidity. This protects my entire collection.
Final Thoughts on Record Care
Cleaning vintage vinyl records is a rewarding process. It’s more than just a chore. It’s an act of respect for the music. It’s a dedication to preserving history. From my perspective as a music journalist, each cleaned record tells a story. It regains its voice. The techniques I’ve shared are born from years of hands-on experience. They prioritize preservation and sound quality. Implement these steps. Your vintage records will thank you. They will reward you with years of beautiful music. Happy listening, and happy cleaning.