
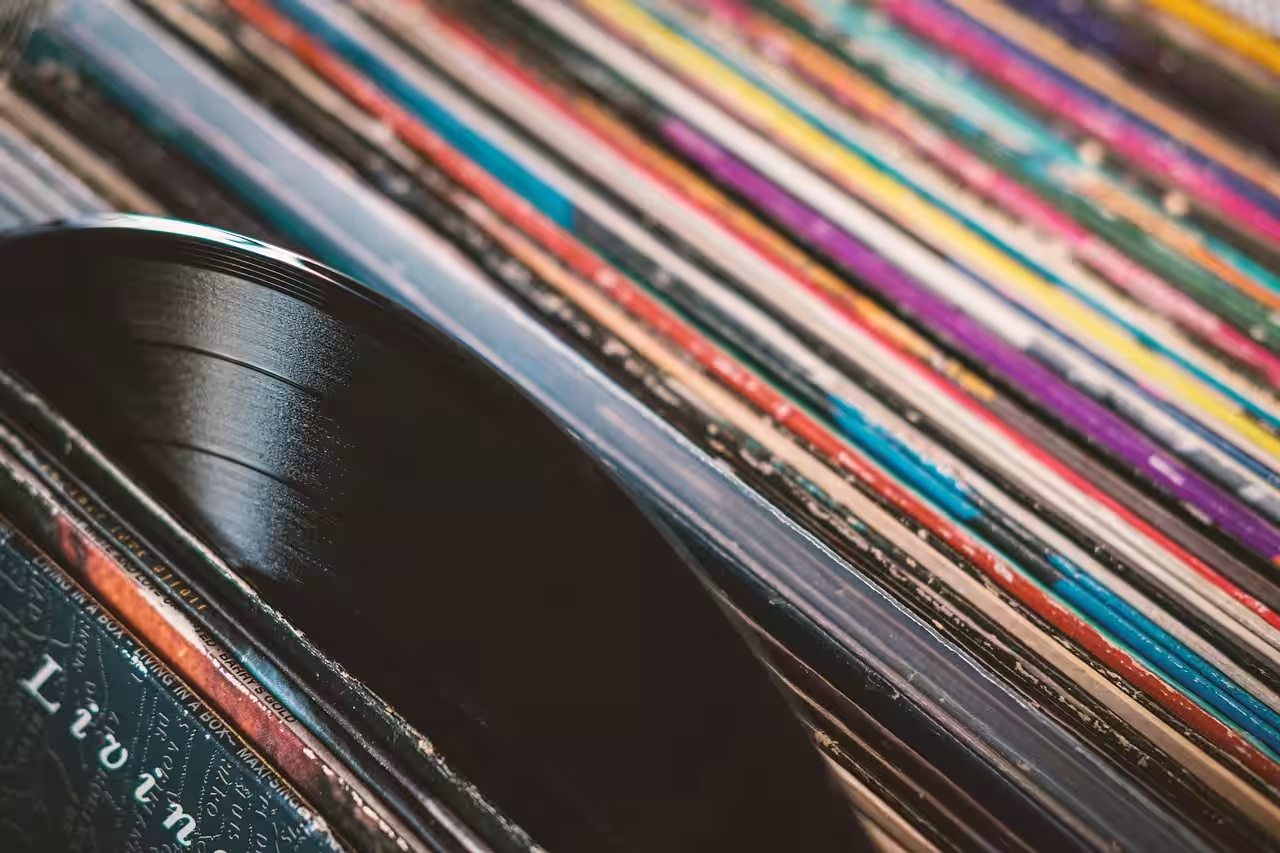

Tại sao việc vệ sinh đĩa than cổ điển lại quan trọng?
Vệ sinh đĩa than cổ điển của bạn records Việc vệ sinh đĩa than là vô cùng quan trọng để bảo quản chất lượng âm thanh và độ bền của chúng. Nếu bỏ qua bước đơn giản này, bụi bẩn, cặn bám và tĩnh điện sẽ tích tụ. Những chất gây ô nhiễm này làm giảm chất lượng âm thanh và có thể làm hỏng vĩnh viễn các rãnh đĩa mỏng manh. Một đĩa than được bảo quản tốt sẽ cho âm thanh sắc nét hơn, phát mượt mà hơn và có thể sử dụng được hàng chục năm.
Qua nhiều năm sưu tầm, tôi đã nhận thấy sự khác biệt. Đĩa than bẩn sẽ gây ra tiếng lách tách, tiếng rè và tiếng ồn bề mặt. Nó làm mòn kim đọc nhanh hơn. Nó làm giảm trải nghiệm nghe nhạc. Vệ sinh giúp khôi phục âm thanh trầm ấm. records. Nó đảm bảo bạn nghe được âm nhạc đúng như ý muốn của nghệ sĩ. Nó bảo vệ bộ sưu tập quý giá của bạn.
Các dụng cụ thiết yếu để vệ sinh nhựa vinyl an toàn
Trước khi bắt đầu bất kỳ quá trình vệ sinh nào, hãy chuẩn bị đầy đủ dụng cụ cần thiết. Sử dụng vật liệu không phù hợp có thể gây hại nhiều hơn lợi. Đầu tư vào các dụng cụ chăm sóc đĩa than chất lượng là một quyết định sáng suốt. Bộ dụng cụ của tôi đã được cải tiến theo thời gian. Tôi nhận thấy một số vật dụng là không thể thiếu để làm sạch nhẹ nhàng và hiệu quả.
Những chiếc cọ phù hợp
Chổi vệ sinh đĩa than tốt là tuyến phòng thủ đầu tiên của bạn. Chổi sợi carbon rất tuyệt vời. Chúng loại bỏ bụi bẩn trên bề mặt và điện tích tĩnh. Luôn chải nhẹ nhàng. Di chuyển theo rãnh đĩa. Chổi nhung cũng hoạt động tốt. Chúng loại bỏ các hạt nhỏ li ti. Tôi khuyên bạn nên sử dụng một chiếc trước mỗi lần phát nhạc. Thói quen này ngăn ngừa bụi bẩn bám sâu hơn.
Ma thuật sợi siêu nhỏ
Khăn lau microfiber chất lượng cao là vô cùng cần thiết. Chúng không để lại xơ vải và cực kỳ mềm mại. Tuyệt đối không sử dụng khăn giấy hoặc giẻ cũ. Chúng có thể làm trầy xước da của bạn. records. Chúng có thể để lại sợi vải. Hãy chọn loại khăn lau được thiết kế đặc biệt cho thiết bị điện tử hoặc quang học. Chúng đủ mềm mại để lau cả nhựa vinyl. Tôi luôn giữ một chồng khăn riêng chỉ để lau chùi đồ điện tử của mình. records.
Dung dịch làm sạch đĩa
Không phải tất cả các loại dung dịch đều an toàn cho đĩa than. Các dung dịch vệ sinh đĩa chuyên dụng được pha chế cho mục đích này. Chúng loại bỏ bụi bẩn mà không làm hỏng các rãnh đĩa. Một số dung dịch không chứa cồn. Một số khác chứa một lượng nhỏ cồn isopropyl. Luôn kiểm tra thành phần. Hãy đảm bảo chúng an toàn cho đĩa than của bạn. records. Tôi đã thử nhiều nhãn hiệu khác nhau trong những năm qua. Tôi thích những công thức dịu nhẹ, không để lại cặn.
Giá phơi và kệ phơi đồ
Việc sấy khô đúng cách thường bị bỏ qua. Phơi khô tự nhiên records Để nằm phẳng có thể khiến bụi bám trở lại. Giá phơi hoặc kệ chuyên dụng là lý tưởng. Nó giữ cho... records Đặt theo chiều dọc. Điều này giúp khô đều và ngăn ngừa ô nhiễm. Thậm chí bạn có thể dùng giá phơi bát đĩa nếu cần. Chỉ cần đảm bảo nó sạch sẽ và chắc chắn.
Hướng dẫn từng bước của tôi về cách làm sạch đĩa vinyl cổ điển
Việc làm sạch một đĩa than cổ cần sự kiên nhẫn và nhẹ nhàng. Tôi tiếp cận mỗi đĩa than với sự cẩn thận. Trước tiên, hãy đánh giá tình trạng của nó. Đĩa bị bẩn nặng. records Cần chú ý hơn nữa. Luôn tiến hành chậm rãi. Phương pháp này đã giúp ích rất nhiều cho bộ sưu tập của tôi trong nhiều năm qua.
Phương pháp chải khô (Loại bỏ bụi nhanh chóng)
Đây là quy trình vệ sinh hàng ngày của bạn. Nhanh chóng và hiệu quả đối với bụi nhẹ.
- Đặt đĩa than lên bàn xoay. Chưa khởi động mâm xoay.
- Cầm nhẹ bàn chải sợi carbon. Đặt nó vuông góc với các rãnh.
- Khởi động bàn xoay đĩa. Để đĩa quay hết một vòng. Chổi quét bụi.
- Từ từ di chuyển chổi về phía trục quay. Việc này sẽ gom hết bụi vào trong chổi. single đường kẻ.
- Nhấc bàn chải thẳng lên. Tuyệt đối không được kéo lê nó trên bề mặt đĩa than.
- Làm sạch đầu cọ. Sử dụng cọ chuyên dụng cho đầu bút cảm ứng hoặc khí nén.
Tôi thực hiện quy trình này trước mỗi lần nghe nhạc. Nó giúp giảm thiểu tiếng ồn bề mặt. Điều này giúp kéo dài tuổi thọ của thiết bị. records.
Phương pháp làm sạch nhẹ nhàng bằng nước (bụi bẩn bề mặt)
Phương pháp này giúp xử lý các vết bẩn cứng đầu trên bề mặt. Nó an toàn cho hầu hết mọi người. records.
- Hãy chuẩn bị các dụng cụ cần thiết. Bạn sẽ cần dung dịch vệ sinh đĩa than, một khăn lau mềm bằng sợi microfiber và một giá phơi.
- Đặt đĩa nhạc lên một bề mặt sạch, phẳng và không có xơ vải. Một chiếc khăn sạch là lựa chọn tốt.
- Cho một lượng nhỏ dung dịch vệ sinh vào đĩa. Xịt trực tiếp lên bề mặt đĩa. Tránh để dung dịch dính vào đĩa. label.
- Thoa đều dung dịch một cách nhẹ nhàng. Sử dụng khăn lau microfiber sạch. Lau theo chuyển động tròn, theo các rãnh.
- Thực hiện từ trung tâm ra ngoài. Áp dụng lực tối thiểu. Để dung dịch tự làm việc.
- Lật mặt đĩa. Lặp lại quy trình tương tự ở mặt còn lại.
- Nếu cần, hãy rửa lại. Một số dung dịch yêu cầu rửa lại bằng nước cất. Kiểm tra hướng dẫn sử dụng sản phẩm. Sử dụng một khăn lau microfiber sạch riêng để rửa lại.
- Lau khô hoàn toàn. Đặt đĩa lên giá phơi. Để khô tự nhiên hoàn toàn. Hoặc dùng khăn lau sợi nhỏ khô, sạch nhẹ nhàng thấm khô.
Tôi thấy phương pháp này rất phù hợp với records Chúng trông xỉn màu. Nó giúp khôi phục lại vẻ sáng bóng. Âm thanh cũng được cải thiện rõ rệt.
Phương pháp làm sạch sâu (bụi bẩn cứng đầu)
Vì records Với bụi bẩn bám sâu, cần một phương pháp làm sạch kỹ lưỡng hơn. Đây là lúc cần đến máy hút bụi hoặc phương pháp làm sạch thủ công mạnh mẽ hơn. Tôi thường sử dụng hệ thống hút bụi cho những trường hợp này. Nếu bạn không có máy hút bụi, việc làm sạch sâu bằng tay là một lựa chọn thay thế tốt.
- Chuẩn bị không gian làm việc. Trải nhiều khăn lau microfiber sạch hoặc một chiếc khăn lớn, mềm.
- Thoa một lượng lớn dung dịch vệ sinh chuyên dụng. Đảm bảo dung dịch phủ kín khu vực có rãnh. Một lần nữa, hãy bảo vệ khu vực đó. label.
- Let the solution sit. Allow it to penetrate the grime. Give it 30-60 seconds. Do not let it dry.
- Gently scrub with a velvet brush or a dedicated record cleaning brush. Apply very light pressure. Move in a circular motion, following the grooves. Work your way around the entire record.
- Rinse thoroughly. Use a separate bottle with distilled water. Gently spray and wipe with a fresh microfiber cloth. This removes all residue. Residue can cause noise.
- Repeat the rinse. I often do a second distilled water rinse for heavily soiled records. This ensures no cleaning solution remains.
- Dry completely. Use a new, dry microfiber cloth to gently blot and wipe. Then place on a drying rack.
This deep cleaning process can dramatically improve playback. I’ve revived many “unplayable” records using this method. Patience is key.
Advanced Cleaning Techniques (When Simple Isn’t Enough)
Sometimes, manual cleaning isn’t enough. Or you have a large collection. This is when I consider more advanced tools. These can offer superior cleaning power. They save significant time. However, they are an investment.
Vacuum-Based Record Cleaners
These machines are a game-changer. They apply cleaning fluid. Then they use a powerful vacuum to suck up the liquid. This removes dirt and grime effectively. It leaves the record completely dry. My own vacuum cleaner has been invaluable. It cleans deep into the grooves. It removes unseen contaminants. Results are consistently excellent. The sound improvement is often dramatic. It’s a worthwhile investment for serious collectors.
Ultrasonic Cleaners (A Word of Caution)
Ultrasonic cleaners use high-frequency sound waves. These create microscopic bubbles. The bubbles dislodge dirt from the grooves. This method is highly effective. However, some debate its long-term effects on vinyl. I’ve used them sparingly myself. Always use a dedicated vinyl ultrasonic cleaner. Avoid cheap, generic jewelry cleaners. They can damage records. Use only distilled water. Add a tiny amount of surfactant if recommended by the manufacturer. Be cautious and research thoroughly before committing to this method.
DIY Solutions vs. Commercial Products: What I’ve Learned
The internet is full of DIY cleaning recipes. Some work. Others can be detrimental. My experience has taught me to be selective. Commercial products are often safer. They are formulated by experts. But some DIY options have their place.
Is Distilled Water Enough?
For light dust and rinsing, distilled water is excellent. It contains no minerals. Tap water leaves deposits. These deposits cause surface noise. I always use distilled water for rinsing. It’s a cheap and effective cleaner for very lightly soiled records. But it won’t remove deep-seated grime or oils.
Alcohol-Based Solutions: Handle with Care
Some DIY solutions recommend isopropyl alcohol. Alcohol can be effective at dissolving grime. However, it can also dry out vinyl. It may remove plasticizers. This can lead to brittle records over time. If you use alcohol, use a very dilute solution. No more than 10-20% isopropyl alcohol. Mix it with distilled water. Always test on a less valuable record first. I rarely use alcohol. I prefer alcohol-free commercial solutions. My collection is too precious to risk.
My Preferred Commercial Cleaners
I have a few go-to brands. Mobile Fidelity Sound Lab (MoFi) fluids are excellent. They are effective and safe. GrooveWasher is another solid choice. Their G2 fluid works wonders. Spin-Clean systems are great for manual cleaning batches of records. They are very affordable. These products are designed for vinyl. They offer peace of mind. They deliver consistent, reliable results.
Common Mistakes to Avoid (Preserving Your Collection)
Even with the best intentions, mistakes happen. Avoiding these common pitfalls is vital. It prevents irreversible damage to your cherished vintage records. I’ve learned these lessons through trial and error. You don’t have to.
Using Harsh Chemicals
Never use household cleaners. Windex, dish soap, or all-purpose sprays are a definite no-go. They contain strong chemicals. These chemicals leave residues. They can permanently damage vinyl. They might even etch the surface. Stick to products specifically designed for records.
Scrubbing Too Hard
Vinyl grooves are delicate. Excessive pressure can scratch them. It can even warp the record. Always use a light touch. Let the cleaning solution do the work. Gentle, consistent movements are best. Imagine you are cleaning a fragile antique.
Wiping in the Wrong Direction
Always wipe with the grooves. This means in a circular motion. Wiping across the grooves can embed dirt. It can also create microscopic scratches. These scratches will cause audible pops and clicks. It’s a simple rule but incredibly important.
Skipping the Drying Step
Leaving records wet is a recipe for disaster. Moisture attracts dust. It can also lead to mold growth. Always ensure records are completely dry before playing or storing. Use a clean, dry microfiber cloth. Air dry on a rack. Patience here saves future headaches.
Beyond Cleaning: Prevention and Storage
The best cleaning is prevention. Proper storage minimizes dust and grime accumulation. It extends the life of your records. I consider it an integral part of record care. It’s less about cleaning and more about long-term preservation.
Proper Sleeves
Original paper sleeves offer little protection. They can even scratch records. Always replace them with anti-static inner sleeves. Poly-lined paper sleeves or entirely polyethylene sleeves are ideal. These prevent static buildup. They keep dust away. They protect the record surface. Outer sleeves are also important. They protect the album artwork. They shield the inner sleeve from dust and shelf wear.
Environmental Factors
Store your records vertically. Stacking them can cause warping. Keep them in a cool, dry place. Avoid direct sunlight. Extreme temperatures are harmful. Humidity can lead to mold growth. A consistent environment is key. My listening room maintains a steady temperature and humidity. This protects my entire collection.
Final Thoughts on Record Care
Cleaning vintage vinyl records is a rewarding process. It’s more than just a chore. It’s an act of respect for the music. It’s a dedication to preserving history. From my perspective as a music journalist, each cleaned record tells a story. It regains its voice. The techniques I’ve shared are born from years of hands-on experience. They prioritize preservation and sound quality. Implement these steps. Your vintage records will thank you. They will reward you with years of beautiful music. Happy listening, and happy cleaning.


