Connecting Your DJ Controller to a TV for Enhanced Visuals & Audio
Why Connect Your DJ Setup to a Television?
Connecting a DJ controller to a TV allows for visual monitoring of waveforms, track information, and even displaying dynamic visuals for your audience. It transforms your mixing experience, making it ideal for home parties or practice.
Essential Connection Methods for DJ Controllers
Audio Connection to TV
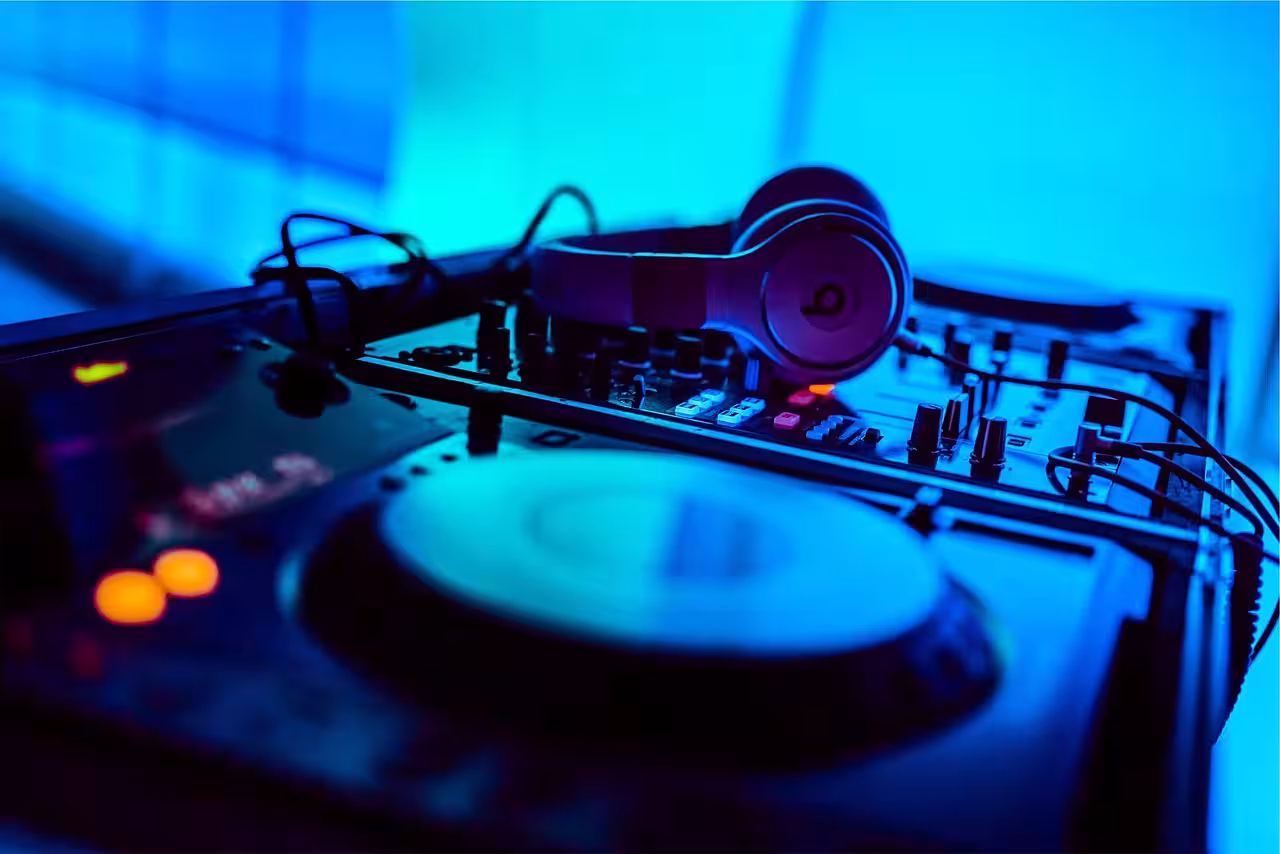
Most DJ controllers output audio via RCA cables (red and white) or 1/4-inch jacks. To connect to a TV, you’ll typically use an RCA to RCA cable into the TV’s audio input. If your TV lacks RCA inputs, an adapter (e.g., RCA to 3.5mm jack) might be needed for the headphone port, though a dedicated sound system is often preferred for optimal sound.
Video Display for DJ Software
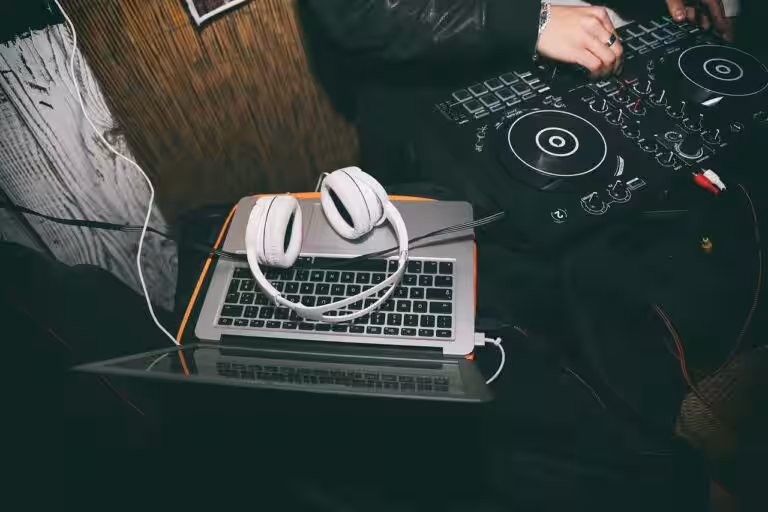
Displaying your DJ software (e.g., Serato, rekordbox) on a TV requires connecting your laptop or computer to the TV. Use an HDMI cable from your computer’s HDMI output to the TV’s HDMI input. This mirrors or extends your desktop, allowing your audience to see track info, effects, or visualizers generated by the software, not directly from the DJ controller itself.
Advanced Setup: USB Audio Interfaces & Mixers
For professional audio quality, route your DJ controller’s audio output through an external USB audio interface or a standalone DJ mixer. Then, connect the audio interface/mixer’s output to a sound system or directly to the TV’s audio input if necessary, often using RCA or XLR cables for the best signal.
Troubleshooting Common Connection Issues
Ensure all cables are securely plugged in. Check the TV’s input source settings (e.g., HDMI 1, AV). Verify audio settings on your computer and DJ software to output to the correct device. Always test your setup before a performance.