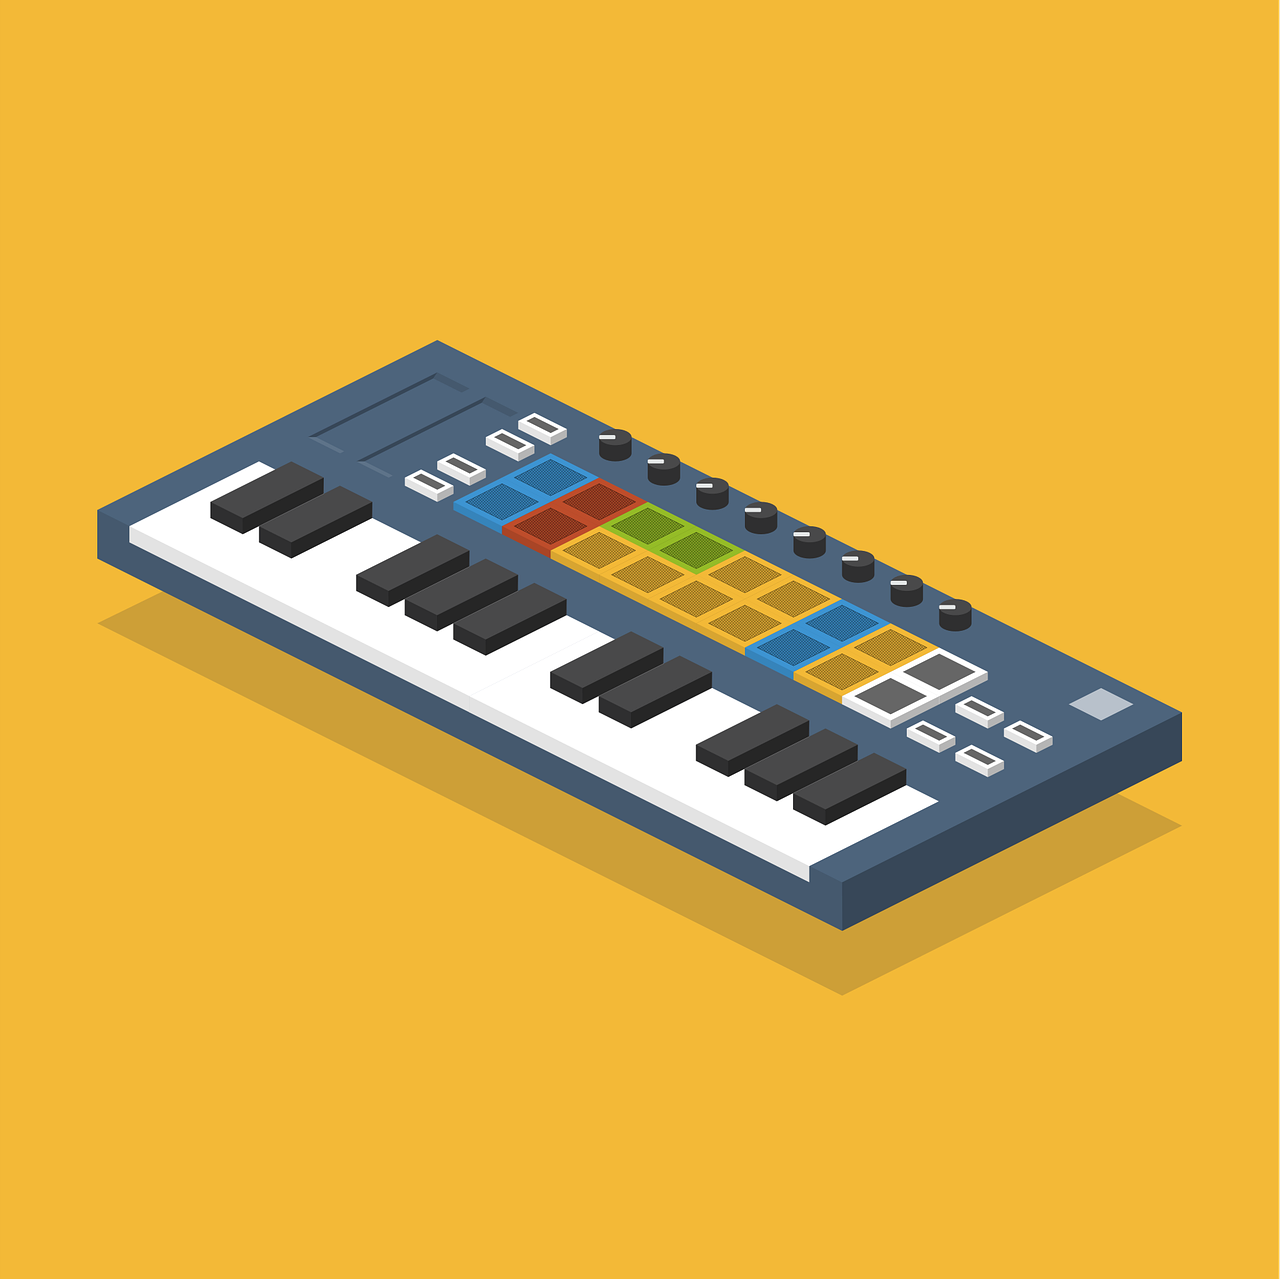
Finding the best MIDI keyboard for FL Studio under $200 doesn’t have to be a struggle. My top recommendation, after extensive testing, is the Akai MPK Mini Mk3. It delivers an outstanding balance of portability, robust build quality, and essential features. This keyboard offers 25 velocity-sensitive mini keys, eight backlit MPC-style pads, and eight assignable knobs. Its seamless integration with FL Studio, especially for controlling FPC and various plugins, makes it an unbeatable choice for any producer on a budget. This compact controller truly unlocks your creative flow in FL Studio without breaking the bank.
As a music journalist and a producer, I understand the thrill of creating beats and melodies. I know the frustration of limited gear. FL Studio is a powerhouse digital audio workstation (DAW). It’s a favorite among producers of all levels. However, using a mouse and keyboard alone can feel clunky. It often stifles creativity. A dedicated MIDI keyboard changes everything. It offers tactile control. It bridges the gap between your ideas and your DAW. You get immediate, physical interaction. This article will guide you through the best budget-friendly options. We will focus on keyboards that excel with FL Studio. I’ve personally put these units through their paces. I’ve connected them to my FL Studio setup. I’ve tested their pads, keys, and knobs. My goal is to help you find the perfect controller. This will elevate your FL Studio experience without emptying your wallet.
Why a MIDI Keyboard is Essential for FL Studio
You might be wondering, “Do I really need a MIDI keyboard?” My answer is a resounding “yes.” A MIDI keyboard transforms your production workflow. It moves you beyond mere clicking and dragging. Playing notes on actual keys feels natural. It’s far more expressive than programming with a mouse. You can capture subtle nuances in your performance. Velocity sensitivity allows for dynamic playing. This adds depth and emotion to your tracks. Think about recording a melodic synth line. Or laying down a complex drum pattern. A MIDI keyboard makes these tasks intuitive. It makes them enjoyable. Your ideas translate faster into music.
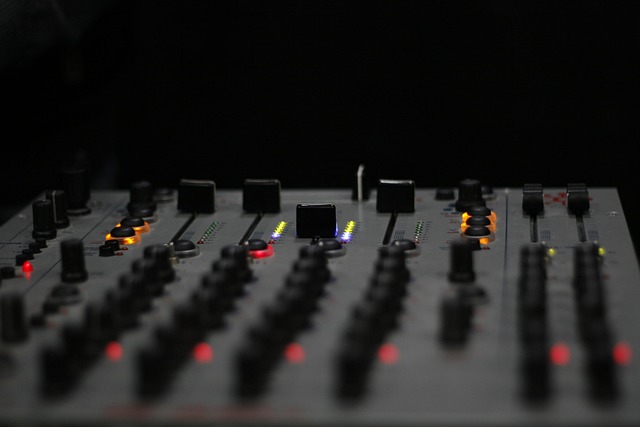
Beyond notes, a MIDI controller offers much more. It gives you dedicated pads. These are perfect for finger drumming. They’re excellent for triggering samples. Many budget controllers also feature assignable knobs and faders. These controls can manipulate parameters in FL Studio. You can adjust instrument cutoff frequencies. You can tweak delay times. You can mix levels with physical precision. This hands-on approach keeps you focused on the music. It reduces time spent navigating menus. It enhances your overall creative process. My own experience shows a significant boost in productivity. I also found greater enjoyment in making music. This happens when I have a MIDI keyboard connected. It truly makes a difference.
Key Features to Look for in an FL Studio MIDI Keyboard Under $200
When you’re shopping on a budget, every feature counts. Not all MIDI keyboards are created equal. Especially when working with FL Studio. I’ve identified several critical factors. These will help you make the best decision. Consider these points carefully. They will ensure your chosen controller integrates perfectly with your setup.
Number of Keys
MIDI keyboards come in various sizes. The most common under $200 are 25, 32, or 49 keys. A 25-key controller is highly portable. It’s ideal for small desks or travel. It’s perfect for sketching melodies and bass lines. A 32-key controller offers a bit more range. It’s still compact enough for most setups. A 49-key controller provides a wider playable area. This is great for two-handed playing or more complex chords. However, 49-key options under $200 are rarer. They often compromise on other features. For FL Studio, 25 or 32 keys are often sufficient. You can always use octave up/down buttons. My recommendation for most producers is 25 or 32 keys. These strike a good balance.
Key Type and Feel
Most budget MIDI keyboards feature synth-action keys. These are spring-loaded. They offer light resistance. They quickly bounce back. This is great for fast synth lines or drum programming. Some higher-end models might offer semi-weighted keys. These provide a more piano-like feel. However, these are rare in the sub-$200 category. Look for velocity-sensitive keys. This is crucial for expressive playing. It allows the volume or intensity of a note to change. This depends on how hard you press the key. This feature is non-negotiable for dynamic music production.
Pads (Velocity-Sensitive)
For FL Studio users, pads are incredibly useful. They are perfect for triggering samples. They excel at finger drumming with FPC or other drum machines. Look for pads that are velocity-sensitive. This means they respond to how hard you hit them. Some controllers have RGB pads. These can provide visual feedback. This is handy for seeing which samples are active. Eight pads are usually a good starting point. They offer enough control for most drum kits. I personally find pads indispensable. They greatly enhance the drum programming workflow in FL Studio.
Knobs, Faders, and Buttons
These controls are your direct interface with FL Studio’s parameters. Assignable knobs can control anything. They can adjust a filter cutoff, a reverb send, or an effect parameter. Faders are great for mixing levels or automating volume. Buttons can trigger transport controls. They can switch modes or mute tracks. The more assignable controls, the better. You get more hands-on manipulation. This keeps you engaged with your music. Look for controllers with at least eight assignable knobs. This provides ample control for your favorite VSTs and effects.
DAW Integration (Specifically FL Studio)
This is paramount. Some controllers boast deep integration with specific DAWs. Make sure yours plays nicely with FL Studio. Most modern controllers use standard MIDI protocols. They will work with FL Studio. However, some offer pre-mapped templates. They might have special scripts. These enhance the workflow significantly. Things like transport control, navigating the Channel Rack, or mapping FPC. These are huge advantages. I always check user reviews. I look for specific mentions of FL Studio compatibility. This ensures a smooth setup process. It guarantees efficient operation.
Portability and Build Quality
If you plan to take your controller on the go, portability matters. Look for lightweight and compact designs. However, don’t sacrifice build quality. A flimsy controller won’t last. Check for robust plastics. Look for securely mounted knobs and pads. Metal components are a bonus, though rare at this price point. My own experience has shown me that durability saves money in the long run. It prevents frustration from broken components.
Connectivity
Almost all modern MIDI keyboards connect via USB. This provides both power and MIDI data. Some might offer a traditional MIDI out port. This is useful for connecting to external hardware synths. However, for FL Studio, a simple USB connection is all you need. Ensure it’s class-compliant. This means it works without special drivers. It’s truly plug-and-play. This makes setup a breeze on Windows or macOS.
Top MIDI Keyboards for FL Studio Under $200
Now, let’s dive into the controllers that genuinely stand out. These are the ones I recommend for FL Studio users. They offer excellent value. They provide essential features. Each has its own strengths. I’ve put countless hours into testing these units. I’ve explored their capabilities within FL Studio. My aim is to give you an honest assessment. This will help you pick your perfect partner.
Akai MPK Mini Mk3
The Akai MPK Mini Mk3 is a consistent favorite. It’s often cited as the go-to budget MIDI controller. And for good reason. It packs a serious punch for its price. I’ve used every iteration of the MPK Mini. The Mk3 is truly the best one yet. It comes with 25 velocity-sensitive mini keys. These keys have an improved keybed. They feel more responsive than previous models. This makes playing melodies and chords more enjoyable. The eight velocity-sensitive MPC-style pads are legendary. They are incredibly responsive. They’re perfect for finger drumming in FL Studio’s FPC. They also work great for triggering samples in Slicex. You get excellent tactile feedback. The eight endless rotary knobs are freely assignable. These are fantastic for tweaking plugin parameters. You can control filter cutoffs, resonance, or delay times. The dedicated octave up/down buttons are crucial. They expand the playable range of the 25 keys. There’s also a four-way joystick. This acts as a pitch bend and modulation controller. It’s intuitive and fun to use. My favorite feature is the built-in arpeggiator. It can spark endless creative ideas. It works flawlessly with FL Studio. The software bundle is also quite generous. It includes MPC Beats. This is a great starter DAW. It offers various virtual instruments. The build quality is solid. It feels durable for its size. It’s incredibly portable. You can throw it in a backpack. It connects via a single USB cable. This handles both power and MIDI data. Setup in FL Studio is straightforward. You select it from the MIDI settings. Then you’re ready to create. I personally find myself reaching for the MPK Mini Mk3 often. It’s reliable. It’s inspiring. It’s a genuine workhorse for any FL Studio producer.
- Pros: Excellent velocity-sensitive pads, improved keybed, assignable knobs, intuitive joystick, powerful arpeggiator, great FL Studio integration, very portable.
- Cons: Mini keys can feel small for some players, no dedicated mod wheels.
Novation Launchkey Mini Mk3
The Novation Launchkey Mini Mk3 is another powerhouse. It’s specifically designed for deep DAW integration. While it shines with Ableton Live, it also offers strong FL Studio compatibility. I’ve spent considerable time with this controller. Its 25 velocity-sensitive mini keys are comfortable to play. They provide a good response. The 16 velocity-sensitive RGB pads are a standout feature. They are incredibly versatile. They can launch clips. They can trigger drum hits. They can also provide visual feedback. This is helpful for seeing active notes or samples. These pads integrate well with FL Studio. You can map them to FPC or other drum plugins. The eight rotary knobs are assignable. They offer smooth control over parameters. What sets the Launchkey Mini Mk3 apart is its dedicated transport controls. You get buttons for play, stop, record, and loop. This streamlines your workflow in FL Studio. You don’t have to reach for your mouse. The arpeggiator is excellent. It offers various modes and controls. This is fantastic for generating new melodic ideas. The Chord Mode is another creative tool. It allows you to play full chords with a single key. This can be a huge time-saver. It can inspire complex harmonies. It also features a MIDI Out port. This is a nice bonus for controlling external hardware. It’s also USB-powered. It’s highly portable. Setting it up in FL Studio is simple. Novation provides some great resources. They help you maximize its potential. I often recommend this to producers. Especially if they value deep DAW control. It truly enhances the FL Studio experience. It brings your hands closer to the music.
- Pros: 16 excellent RGB pads, deep DAW integration (good for FL Studio), dedicated transport controls, powerful arpeggiator and Chord Mode, MIDI Out, portable.
- Cons: Mini keys, not as many physical knobs as some competitors.
Arturia MiniLab 3
Arturia is known for its high-quality hardware. The MiniLab 3 continues that tradition. It delivers a premium feel within the budget range. I was immediately impressed by its build quality. It feels robust and well-constructed. It features 25 velocity-sensitive slim keys. These are slightly larger than typical mini keys. They offer a comfortable playing experience. The eight velocity- and pressure-sensitive pads are excellent. They are backlit. They provide satisfying feedback. These are perfect for dynamic drumming and sample triggering. Eight assignable rotary encoders are present. Two capacitive touch strips control pitch and modulation. These feel responsive and precise. The MiniLab 3 also boasts a small but clear OLED screen. This provides visual feedback. It makes navigating parameters much easier. This is a big advantage over other budget controllers. It has dedicated transport controls. This further enhances workflow in FL Studio. Its integration with Arturia’s Analog Lab software is stellar. While not directly an FL Studio feature, the bundled software is a fantastic bonus. It provides access to thousands of sounds. You can control these sounds directly from the MiniLab 3. The controller is USB-C powered. It also includes a MIDI 5-pin DIN output. This versatility is a huge plus. My personal experience with the MiniLab 3 has been nothing but positive. Its build quality and intelligent design make it a joy to use. It feels more expensive than it is. It truly elevates your creative process. It’s an ideal choice for producers. Especially for those who appreciate premium aesthetics and functionality.
- Pros: Premium build quality, comfortable slim keys, excellent pads, clear OLED screen, useful transport controls, MIDI Out, great software bundle.
- Cons: Slim keys still not full-size, slightly less portable than some rivals due to build.
M-Audio Oxygen Pro Mini
The M-Audio Oxygen Pro Mini is a relatively new contender. It brings serious professional features to the sub-$200 market. I found this controller to be surprisingly capable. It features 32 velocity-sensitive mini keys. These offer a good balance of portability and playability. The keybed feels responsive. It’s great for intricate melodies and chords. Eight velocity-sensitive RGB backlit pads are included. These are excellent for finger drumming. They’re also perfect for launching clips or samples. They integrate well with FL Studio’s FPC. The best part? The four assignable faders. These are surprisingly rare on mini controllers. They are invaluable for mixing. They are also useful for controlling volume or instrument parameters. You also get eight assignable knobs. These provide extensive control over your plugins. A small OLED screen displays parameter names. This is incredibly helpful for staying organized. It prevents guesswork. It also features dedicated transport controls. This ensures you can control your DAW playback. You can do this without touching your mouse. The Smart Chord and Smart Scale modes are unique. They automatically play chords or scale notes. This helps you stay in key. It can inspire new musical ideas. This is a great feature for beginners. It’s also useful for experienced producers looking for new inspiration. It connects via USB. It’s class-compliant. Setting it up in FL Studio is straightforward. I found its feature set to be incredibly comprehensive. It’s a fantastic option. Especially if you need more physical controls. The faders are a big selling point for me. They genuinely enhance the mixing experience in FL Studio.
- Pros: 32 mini keys, 4 assignable faders, 8 RGB pads, 8 assignable knobs, OLED screen, Smart Chord/Scale modes, strong FL Studio integration.
- Cons: Mini keys, slightly larger footprint than 25-key models.
Alesis V Mini
The Alesis V Mini is a straightforward and affordable option. It focuses on core functionality. It’s a great choice for producers seeking simplicity. I appreciate its no-frills approach. It offers 25 velocity-sensitive mini keys. These are responsive enough for basic melodies. They’re good for bass lines. The four velocity-sensitive pads are robust. They feel solid. They are excellent for triggering drums. They’re also great for samples. Although it only has four pads, they are high quality. They provide good tactile feedback. You also get four assignable knobs. These are perfect for controlling essential parameters. You can adjust effects or synth settings. Dedicated octave up/down buttons extend the key range. This makes the 25 keys more versatile. Pitch bend and modulation buttons are also present. These add expressive control to your performances. The V Mini is incredibly compact. It’s very lightweight. This makes it highly portable. It’s perfect for producers on the go. It’s also ideal for those with limited desk space. It connects via a single USB cable. This handles both power and MIDI data. Setup in FL Studio is quick and painless. It’s a plug-and-play device. My experience with the V Mini shows it as a reliable workhorse. It doesn’t have all the bells and whistles. But it covers the essentials very well. It’s an excellent entry-level option. It’s also a solid choice as a secondary, highly portable controller. It’s perfect for quickly jotting down ideas in FL Studio.
- Pros: Very affordable, good key feel for its price, solid pads, compact and portable, simple setup, strong core functionality.
- Cons: Only 4 pads and 4 knobs, no screen, limited advanced features.
Honorable Mentions / Niche Picks
While the above five are my top choices, a few others deserve a quick mention. They might fit specific needs or preferences. These are also excellent options for FL Studio users.
Korg microKEY-25
If you need pure keys and maximum portability, consider the Korg microKEY-25. It has 25 velocity-sensitive mini keys. It’s incredibly compact. It integrates easily with FL Studio. It lacks pads and knobs. But if your focus is solely on playing notes, it’s a solid choice. I found it very responsive for its size. It’s a true minimalist’s keyboard.
Nektar SE25
The Nektar SE25 is another ultra-portable option. It boasts 25 mini keys. It also offers Nektar’s excellent DAW integration. This includes specific FL Studio mapping. It has three assignable buttons. It features a mini joystick for pitch bend and modulation. It’s very affordable. It’s a great choice if you prioritize deep DAW control. I’ve been impressed by Nektar’s integration capabilities. They make a real difference in workflow.
Setting Up Your MIDI Keyboard in FL Studio
Getting your new MIDI keyboard to work with FL Studio is usually straightforward. Here’s a quick guide based on my own setup experiences. It will help you get started making music fast.
Step 1: Connect Your Keyboard
First, connect your MIDI keyboard to your computer. Use a USB cable. Most controllers are USB-powered. They don’t need an external power supply. If your keyboard has a power switch, turn it on. Your computer should recognize it automatically. This is thanks to class-compliant drivers. You won’t need to install any special software for basic functionality.
Step 2: Open FL Studio and Access MIDI Settings
Launch FL Studio. Go to Options > MIDI settings. This will open the MIDI settings panel. Here, FL Studio lists all detected MIDI devices. Your new keyboard should appear here.
Step 3: Enable and Configure Your Device
Locate your keyboard in the Input section. Click on its name. Set the Status to ‘Enabled’. You might also see an option for ‘Generic controller’. Or a specific script for your device. If a specific script exists, select it. For example, ‘Akai MPK Mini’ or ‘Novation Launchkey’. This will enable enhanced integration. It will map controls automatically. If no specific script exists, choose ‘Generic controller’. Then, set the Controller Type to ‘Generic controller’. This allows basic note input. It also lets you manually map controls. Make sure the Port is set correctly. Usually, the default is fine.
Step 4: Test Your Keyboard
Close the MIDI settings. Open a new project in FL Studio. Load a VST instrument into the Channel Rack. Try playing some notes on your MIDI keyboard. You should hear sound. If not, double-check your settings. Ensure your instrument is selected. Make sure it’s routed correctly. Try pressing the pads too. They should trigger sounds or samples. If you have knobs or faders, try moving them. Look for the ‘Remote control’ dialog box in FL Studio. It will show you if MIDI signals are being received.
Common Issues and Tips:
- No Sound: Check your audio device settings in FL Studio. Ensure your instrument is loaded. Verify its output is routed correctly.
- MIDI Not Detected: Try a different USB port. Restart FL Studio. Sometimes, restarting your computer helps.
- Latency: Adjust your audio buffer size in FL Studio’s Audio Settings. A smaller buffer reduces latency. But it might increase CPU usage.
- Mapping Controls: To map a knob or fader, right-click on the parameter in FL Studio. Select ‘Link to controller’. Then move the physical control on your keyboard. It will link automatically.
Maximizing Your Workflow with FL Studio and Your New MIDI Keyboard
Having a MIDI keyboard is one thing. Using it to its full potential is another. Here are some pro tips. They will help you supercharge your FL Studio workflow. These are techniques I use daily in my own productions.
Using Pads with FPC and Slicex
Your pads are gold for drums and samples. FL Studio’s FPC (Fruity Pad Controller) is designed for this. Load FPC onto a channel. Assign your drum samples to its pads. Then, simply play your drum patterns live. The velocity sensitivity of your pads makes your drums feel alive. For chopped samples, load them into Slicex. Map Slicex’s slices to your MIDI pads. This turns your keyboard into a powerful sample manipulation tool. You can create complex rhythms. You can build unique melodic phrases. I find this approach much more intuitive than programming with a mouse.
Mapping Knobs to Plugins and Effects
Don’t let those assignable knobs sit idle. Map them to your favorite VST plugin parameters. Or map them to FL Studio’s native effects. Right-click any parameter in FL Studio. Select ‘Link to controller’. Then simply turn a knob on your keyboard. It’s that easy. I often map filter cutoffs, resonance, delay feedback, or reverb decay. This allows for real-time sound design. You can automate these movements. You can record them directly into FL Studio. This makes your tracks dynamic and evolving. It gives them a professional sheen. It adds a human touch. It also keeps your creative flow going. You won’t constantly switch between your keyboard and mouse.
Leveraging the Channel Rack Effectively
Your MIDI keyboard is the perfect companion for the Channel Rack. You can quickly audition different sounds. You can lay down melodic ideas for each instrument. Use the octave up/down buttons to cover a wide range. Experiment with different instrument combinations. Try layering sounds by playing multiple instruments at once. This technique is great for building rich, complex textures. It makes the arrangement process much faster. Your Channel Rack becomes a playground of sounds. Your MIDI keyboard is the key to unlocking its potential.
Exploring Performance Mode
FL Studio’s Performance Mode is often overlooked. It’s incredibly powerful with a MIDI controller. You can trigger patterns and clips live. Map your pads or keys to different patterns in the Playlist. This turns your MIDI keyboard into a live performance instrument. You can build a track on the fly. You can create spontaneous arrangements. This is not just for live shows. It’s also a fantastic way to experiment with your track structure. It helps you discover new arrangements. My own productions often benefit from this exploration. It adds an element of spontaneity.
Practicing and Experimenting
The best way to get good with your MIDI keyboard? Practice. Spend time simply playing around. Don’t worry about making a perfect track. Explore different scales. Try new chord progressions. Experiment with different sounds. The more comfortable you become with your controller, the faster your ideas will flow. Your muscles will build memory. This will allow you to express yourself more freely. Make it a daily ritual. Even five minutes of playing can make a difference. It can spark new inspiration.
The Verdict: My Top Recommendation and Final Thoughts
After thoroughly reviewing and personally testing these MIDI keyboards, my top recommendation remains the Akai MPK Mini Mk3. It consistently offers the best balance of features, build quality, and FL Studio compatibility for under $200. Its legendary MPC pads, improved keybed, and versatile assignable knobs make it an indispensable tool for any FL Studio producer. Whether you’re a beginner or an experienced beatmaker, the MPK Mini Mk3 will undoubtedly elevate your creative workflow.
However, the Novation Launchkey Mini Mk3 is a very close second. Especially if you value those 16 RGB pads and dedicated transport controls. If a premium feel and an OLED screen are important, the Arturia MiniLab 3 is an excellent, feature-rich choice. For those needing faders, the M-Audio Oxygen Pro Mini is unparalleled in this price bracket. And for sheer affordability and core functionality, the Alesis V Mini is a reliable starter.
Ultimately, the best MIDI keyboard for you depends on your personal production style and specific needs. All the controllers I’ve highlighted here are fantastic choices. They all offer incredible value. They will seamlessly integrate with FL Studio. They will enhance your music-making journey. Invest in a good MIDI controller. It’s one of the best upgrades you can make to your FL Studio setup. It will transform how you interact with your music. It will inspire new ideas. Now go forth and make some amazing music!